Spider nails, also known as spider web nails, are a mesmerizing nail art design that has gained popularity in recent years. This unique nail design features intricate patterns resembling spider webs, adding a touch of mystery and elegance to your fingertips. Whether you're attending a Halloween party or simply want to stand out from the crowd, spider nails are a fantastic choice.
Creating Spider Nails

Creating spider nails may seem daunting at first, but with a little practice and patience, you can achieve stunning results. Here's a step-by-step guide to help you create your very own spider web nails:
Step 1: Prepare Your Nails

Start by cleaning and shaping your nails. Remove any old nail polish and file your nails into your desired shape. This will provide a smooth canvas for your spider web design.
Step 2: Apply a Base Coat
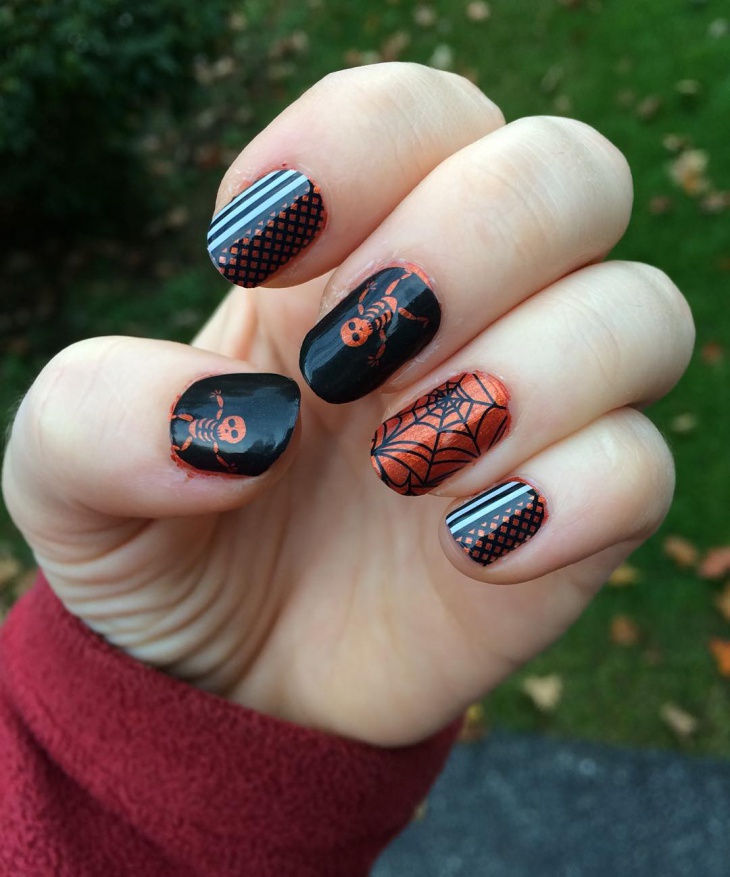
Apply a thin layer of base coat to protect your natural nails and ensure the longevity of your spider web design. Allow the base coat to dry completely before moving on to the next step.
Step 3: Choose Your Colors

Select the colors you want to use for your spider web design. Traditionally, black or dark colors are used for the web, while a contrasting color is chosen for the background. However, feel free to experiment with different color combinations to suit your preferences.
Step 4: Apply the Background Color
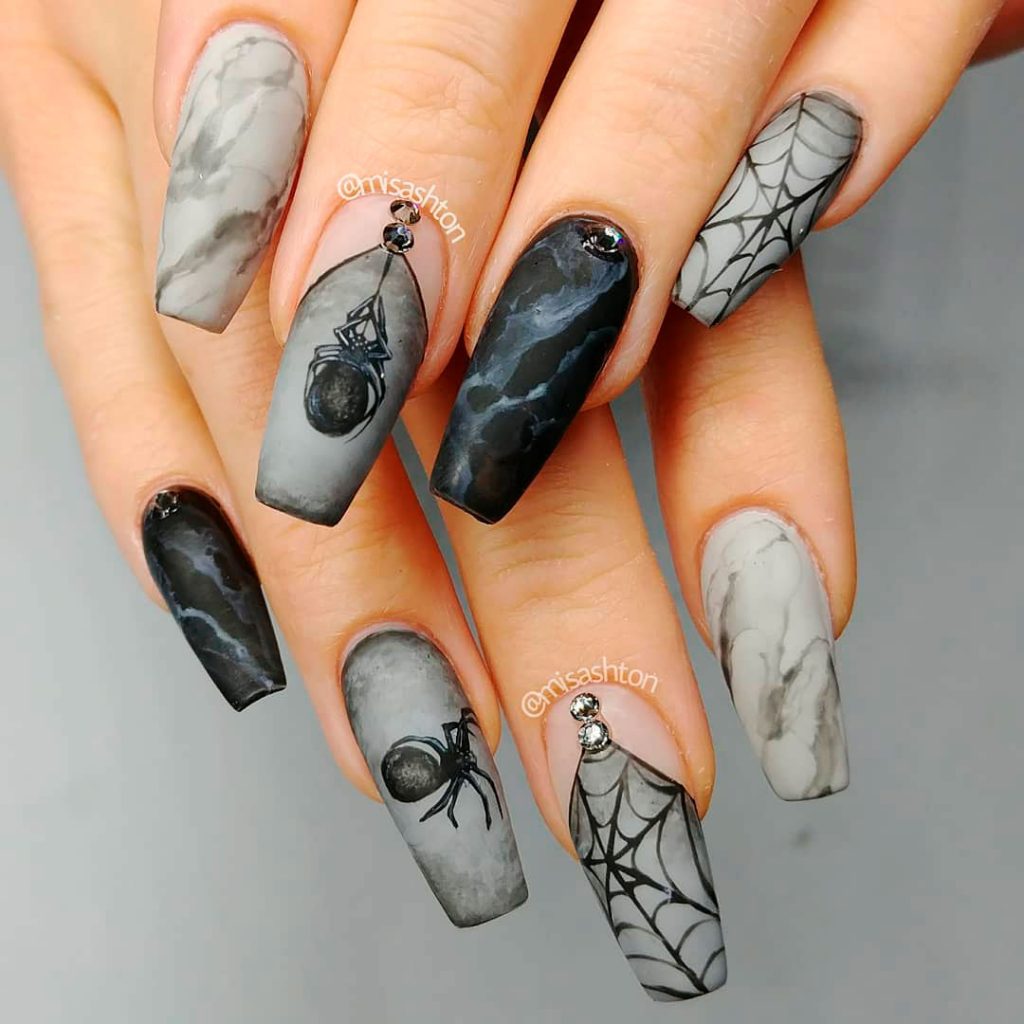
Using a nail polish brush, apply the chosen background color to your nails. Ensure that the color is evenly distributed and covers the entire nail bed. Allow the background color to dry completely before moving on to the next step.
Step 5: Create the Spider Web
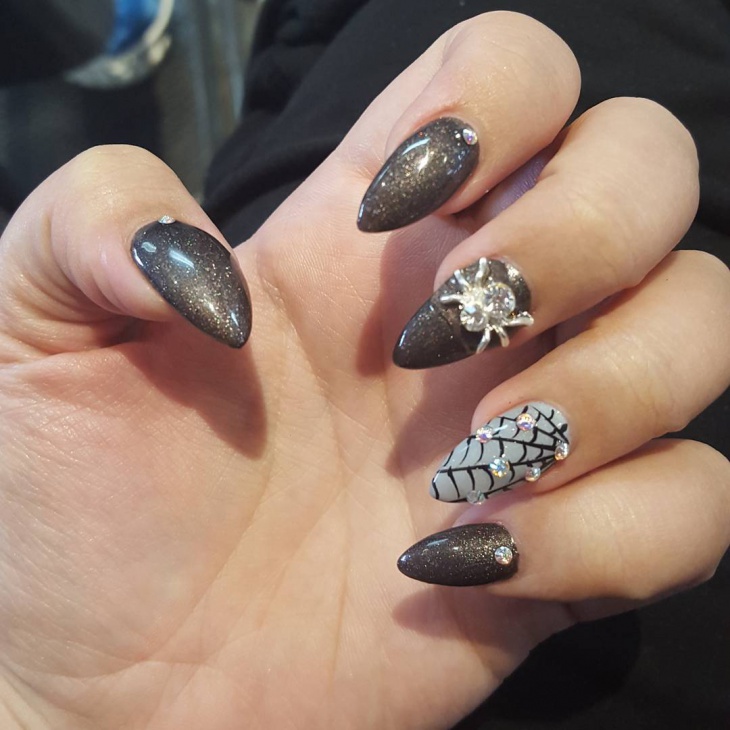
Now comes the fun part ??? creating the spider web design. Dip a thin nail art brush into the black or dark-colored polish and carefully draw a small dot near the edge of your nail. From this dot, draw straight lines outward to create the spokes of the web. Connect these lines with smaller curved lines to form the intricate web pattern.
Step 6: Finishing Touches
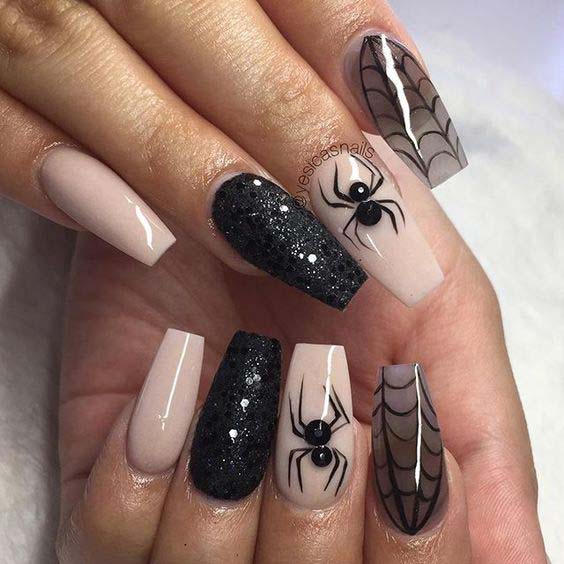
Once you're satisfied with your spider web design, allow it to dry completely. Apply a top coat to seal the design and protect it from chipping. This will also give your nails a shiny and polished finish.
Spider Nails Inspiration

Looking for inspiration to create your spider nails? Here are a few design ideas to get you started:
1. Gradient Spider Web
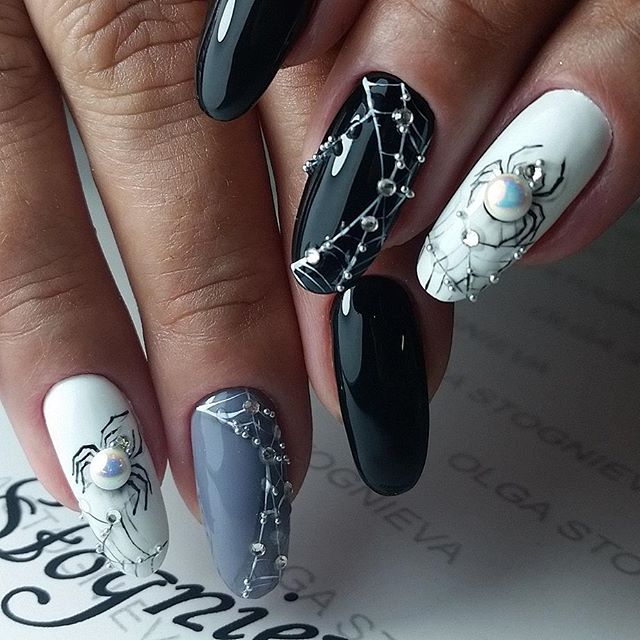
Combine the elegance of a gradient nail art with the intricacy of a spider web design. Choose two complementary colors and create a gradient effect as the background for your spider web.
2. Glittery Spider Webs

Add a touch of sparkle to your spider nails by incorporating glitter. Apply a layer of glitter polish on top of the web design or create sparkly accents on certain parts of the web for a dazzling effect.
3. Negative Space Spider Nails

Embrace the negative space trend by leaving parts of your nails bare and incorporating the spider web design on specific areas. This creates a modern and minimalist look.
Caring for Spider Nails

Proper care and maintenance can help extend the lifespan of your spider nails. Here are a few tips to keep them looking fabulous:
1. Avoid Harsh Chemicals

Avoid exposing your nails to harsh chemicals, such as household cleaning products or acetone-based nail polish removers. These can cause the polish to chip or fade.
2. Moisturize Your Cuticles
Keep your cuticles moisturized by applying cuticle oil or a nourishing hand cream regularly. This prevents dryness and promotes healthy nail growth.
3. Protect Your Nails

Avoid activities that may cause your nails to chip or break, such as excessive typing, gardening without gloves, or using your nails as tools. Consider wearing gloves for added protection.
Conclusion
Spider nails are a fantastic choice for those who want to add a touch of mystery and elegance to their nail art. With a little practice and patience, you can create mesmerizing spider web designs that will surely turn heads. Remember to take proper care of your spider nails to ensure their longevity and keep them looking fabulous.