
Introduction
Spider nail designs are a trendy and unique way to express your creativity through nail art. With their intricate patterns and bold colors, spider nail designs can make a real statement. Whether you're attending a Halloween party or simply want to add a touch of edginess to your everyday look, spider nail designs are a perfect choice. In this article, we will explore different spider nail designs and provide you with some tips on how to achieve them.
Classic Spider Web Design

The classic spider web design is a popular choice for those who want to embrace the Halloween spirit. To create this design, start by applying a base coat and then paint your nails with a black or dark purple polish. Once the base coat is dry, use a thin nail art brush to draw a diagonal line across your nail. From the center of this line, draw several curved lines in a radial pattern to create the spider web. Finish off the design by adding small dots to represent the spider.
Cute Spider Accent Nail
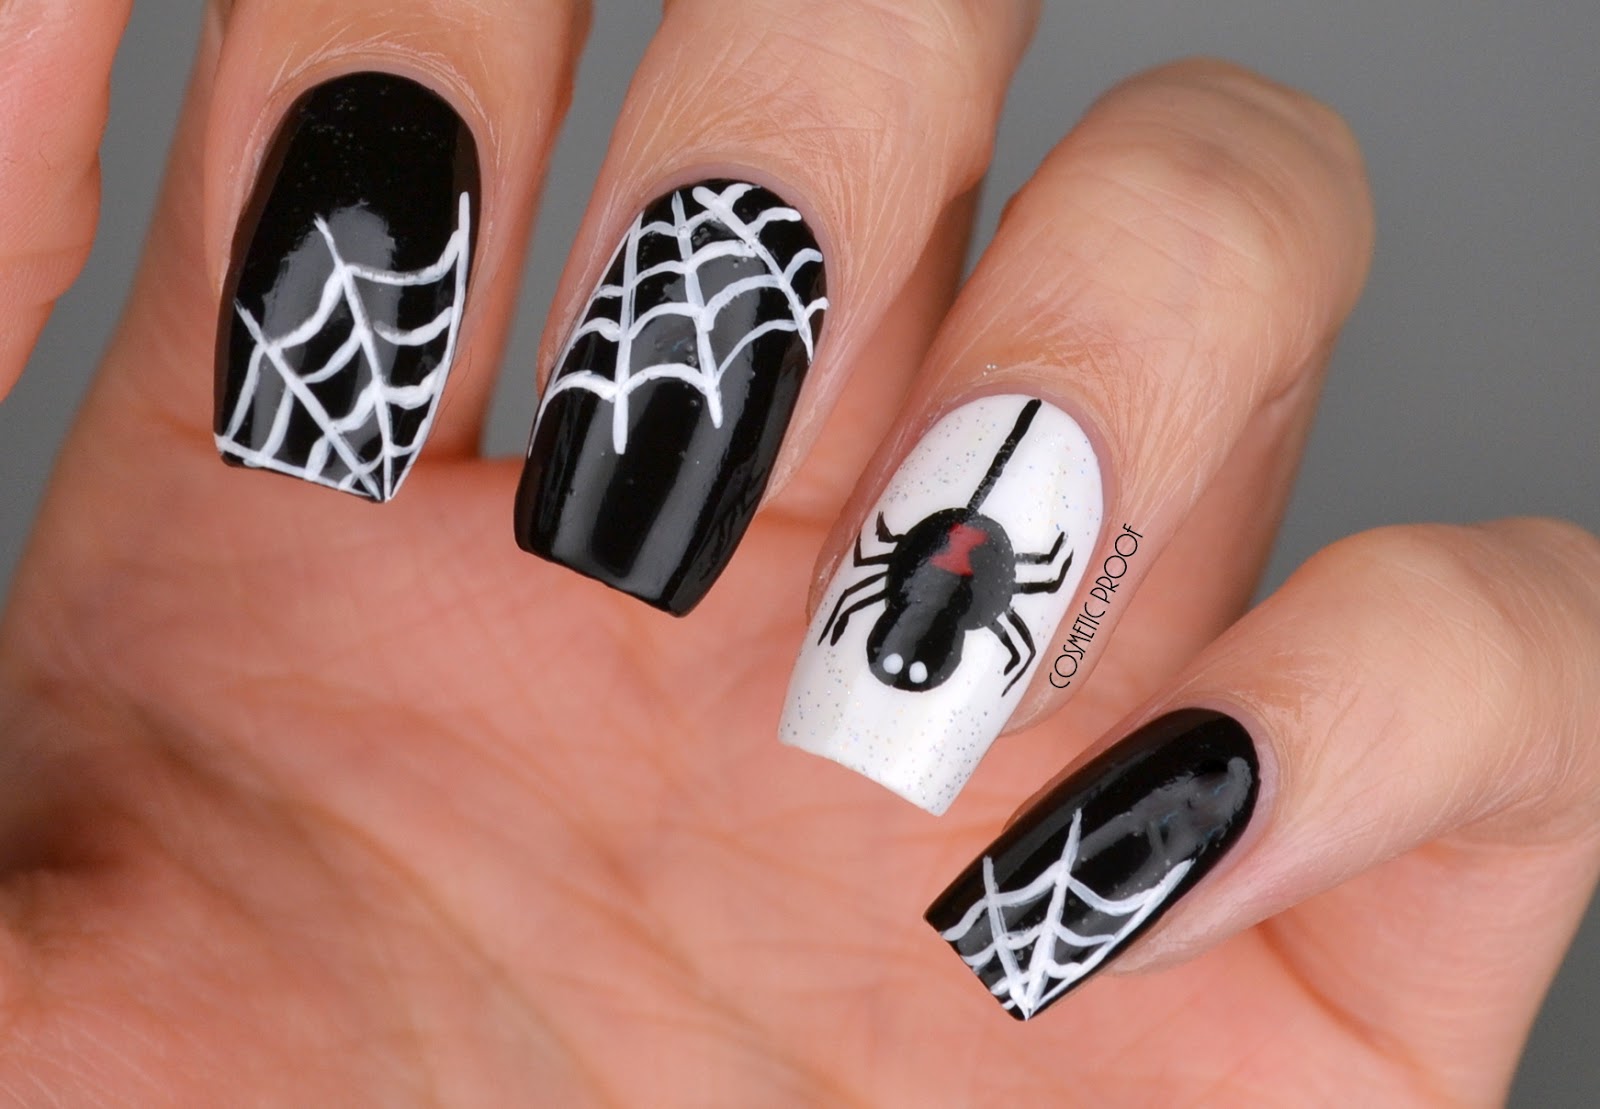
If you prefer a more subtle approach, a cute spider accent nail might be the perfect choice for you. Start by painting your nails with a light color, such as white or pastel pink. Then, choose one nail to be your accent nail. Paint this nail with a contrasting color, such as black or red. Once the accent nail is dry, use a dotting tool or a toothpick to create the body of the spider at the base of the nail. Add small lines for the legs, and you'll have an adorable spider accent nail.
Glow-in-the-Dark Spider Design

If you want to take your spider nail design to the next level, try creating a glow-in-the-dark spider design. Start by applying a glow-in-the-dark nail polish as your base coat. Once the base coat is dry, use a fine brush to draw a spider web on each nail using a white or neon-colored polish. To make the spider stand out, use a black polish to create the body and legs. When you turn off the lights, your nails will glow, giving your spider design an extra spooky touch.
Spider French Tips

If you're a fan of the classic French manicure, you can incorporate spider elements into this timeless design. Start by painting your nails with a nude or light pink polish. Once the base coat is dry, use a black or dark brown polish to create a thin diagonal line across the tip of each nail. From this line, draw several curved lines in a radial pattern to create the spider web. Finish off the design by adding a small dot at the center of the web to represent the spider.
Tips for Creating Spider Nail Designs

Creating spider nail designs can be a fun and rewarding experience. Here are some tips to help you achieve the best results:
- Start with clean and well-manicured nails. Remove any old nail polish and shape your nails before applying any design.
- Use high-quality nail polishes and tools. This will ensure better color payoff and easier application.
- Practice drawing spiders and spider webs on paper before attempting them on your nails. This will help you gain confidence and improve your technique.
- Apply a top coat to seal and protect your design. This will make it last longer and prevent chipping.
- Experiment with different colors and designs to find the spider nail design that suits your style and personality.
Conclusion
Spider nail designs are a creative and eye-catching way to show off your personal style. Whether you prefer a classic spider web design or a cute spider accent nail, there are endless possibilities to explore. With the right tools and a little practice, you can achieve stunning spider nail designs that will make a statement. So, let your creativity soar and have fun experimenting with spider nail designs!
