Introduction to Spider Lily Drawing
Spider lilies are beautiful flowers that are often depicted in various forms of art, including drawings. Drawing spider lilies can be a relaxing and enjoyable activity for artists of all skill levels. Whether you are a beginner or an experienced artist, capturing the delicate beauty of these flowers on paper can be a rewarding experience. In this article, we will explore the process of drawing spider lilies, from understanding their unique features to creating a stunning artwork.

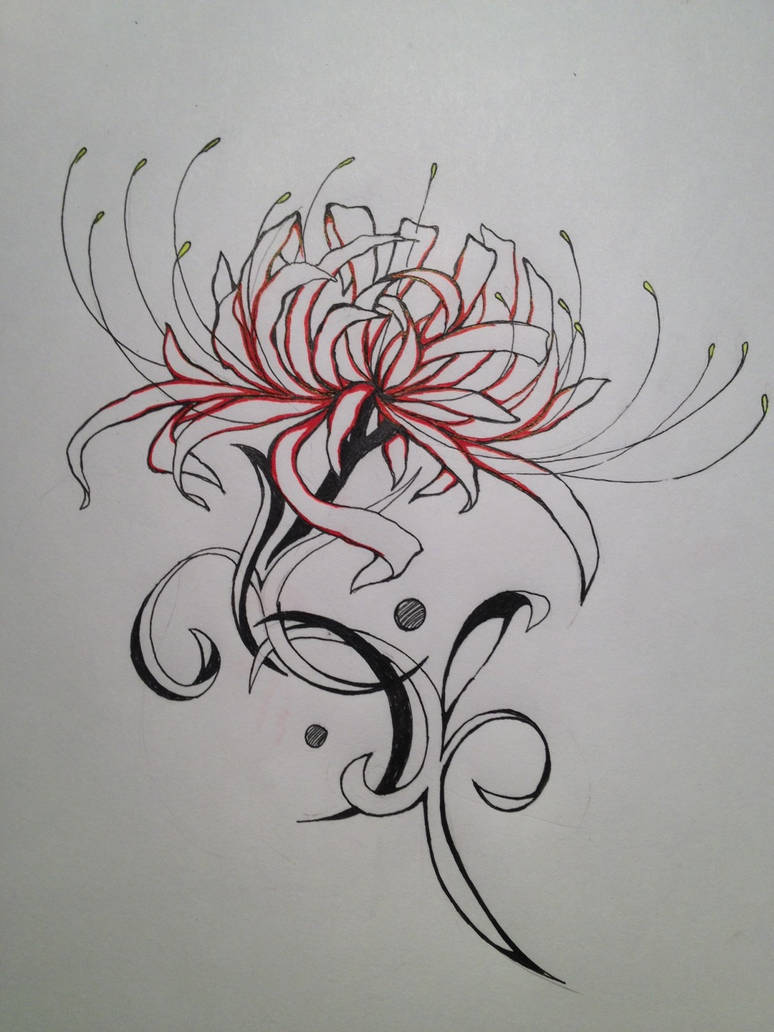
The Unique Features of Spider Lilies
Before we start drawing spider lilies, it's important to familiarize ourselves with their unique features. Spider lilies are known for their long, slender petals that resemble spider legs, hence their name. These flowers usually bloom in vibrant shades of red, but can also be found in white, pink, and orange hues. The petals of spider lilies often curve gracefully, creating an elegant and eye-catching appearance.

Materials Needed for Spider Lily Drawing
To begin your spider lily drawing, you will need a few basic materials. These include:
- Pencil
- Eraser
- Drawing paper or sketchbook
- Colored pencils or markers (optional)
These materials are readily available in most art supply stores and will provide you with a solid foundation for your drawing.

Step-by-Step Guide to Drawing Spider Lilies
Now that you have gathered your materials, let's dive into the step-by-step process of drawing spider lilies:
Step 1: Sketching the Basic Shape
Start by lightly sketching the basic shape of the spider lily. Begin with a simple oval or circle to represent the center of the flower, and then add long, curved lines extending from it to create the petals. Remember, spider lilies have slender and slightly curved petals, so try to capture that in your initial sketch.

Step 2: Adding Details
Once you are satisfied with the overall shape, start adding more details to your drawing. Observe the spider lily closely and carefully replicate the intricate patterns and textures of the petals. Spider lilies often have delicate lines or dots on their petals, so pay attention to those as well. Use your pencil to shade and add depth to your drawing.

Step 3: Enhancing with Colors (optional)
If you want to add a pop of color to your spider lily drawing, now is the time to do so. Colored pencils or markers can be used to bring your artwork to life. Spider lilies are commonly seen in shades of red, so consider using various red tones to create a realistic effect. However, don't be afraid to experiment with different colors and create your own unique interpretation of these beautiful flowers.

Step 4: Final Touches
Once you have added colors and are satisfied with the overall look of your spider lily drawing, take a step back and assess the final result. Make any necessary adjustments or additions to enhance the details or refine the composition. Remember, art is subjective, and your interpretation of the spider lily is what matters most.

Conclusion
Drawing spider lilies can be a delightful artistic endeavor. By capturing the unique features and delicate beauty of these flowers, you can create stunning artworks that will captivate viewers. Remember to enjoy the process and allow your creativity to shine through. With practice and patience, you will be able to create remarkable spider lily drawings that showcase your artistic skills.
